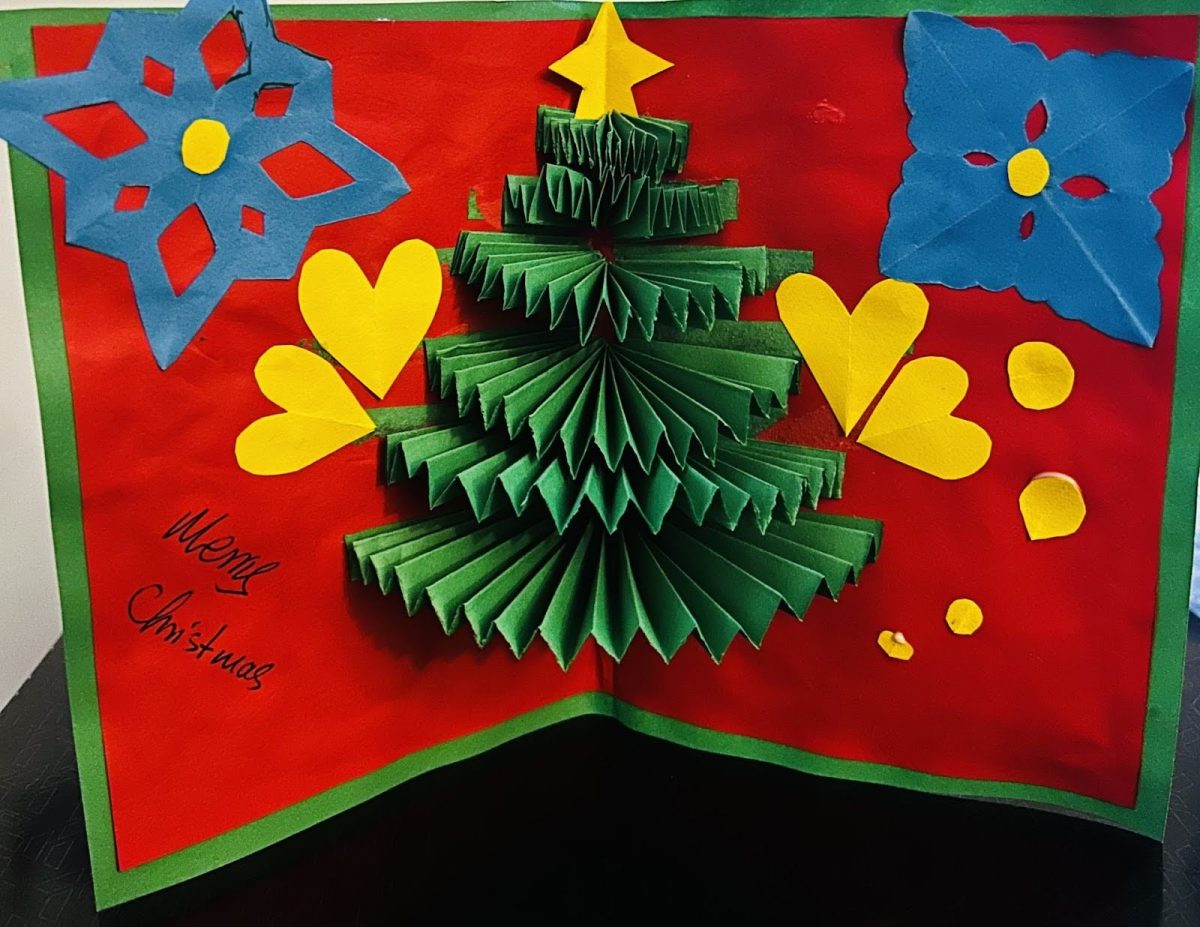
There’s nothing like old-fashioned snail mail that can brighten someone’s day. This DIY is called a 3D Christmas Card and a lot of people make it all around the world to share their love with their loved ones in the form of a meaningful handmade gift. The tradition of sending greetings through a scroll can be dated back to the ancient Egyptians. However, the first ever Christmas Card was designed in England in 1843 by John Horsley. As a student who doesn’t earn an income, this little project saved me from having to spend a lot of money on gifts for my family members. Creating a DIY Christmas card is a wonderful way to add a personal touch to the holiday season. While store bought cards are convenient, nothing compares to the warmth and thoughtfulness of a handmade card.
Supplies:
- Colored papers
- Scissor
- Glue stick or any type of glue
Instructions:
1. From the colored papers, pick out 2 green papers and 1 red paper. Set aside the red and green paper for later use.
2. Cut and rearrange the green paper so that it will be 16 cm by 23 cm
3. Fold the green paper into half the hamburger style.
4. Get the red paper you set aside, and cut it so that it will be 15 cm by 23 cm
5. Fold the red paper the hamburger style, then glue it to the green paper.
6. After you glued the two papers together, set them aside to dry.
7. Get the green paper you set aside earlier. The paper does not need to be cut.
8. Fold the green paper the hot-dog style, then unfold the paper. Grab one side of the paper and fold the tip of the paper to the middle of the paper (the fold line). Fold the paper again. After folding the paper a total of two times, unfold it then do the same thing with the other side of the paper.
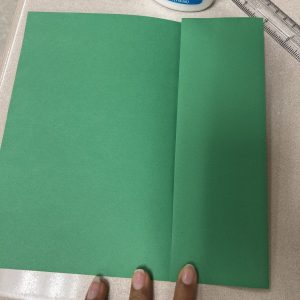
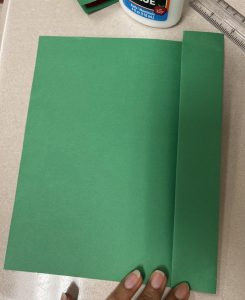
9. After folding and unfolding both sides of the paper, grab one line of the many folded lines in the paper and fold it to the middle of its next line.
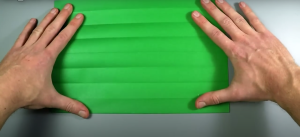
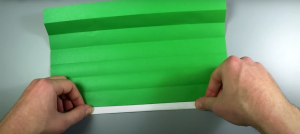
10. After you fold the paper to the middle, fold the paper backwards. Fold the paper going back and forth, do this until the whole paper is folded.
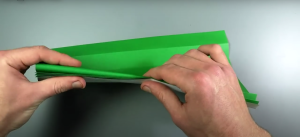
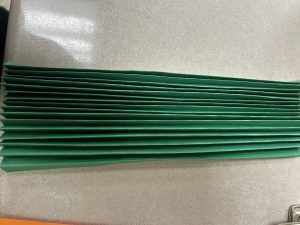
11. The next step is to hold the paper to one of your fingers, and then cut the paper where your finger and the paper end of the route.
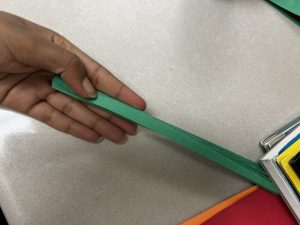
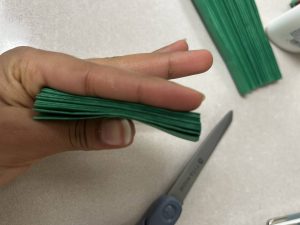
12. After you cut the paper according to your finger length, use the rest of the leftover paper to compare sizes with the paper that you cut first. When you are comparing the two papers, leave a small gap between them. Cut the paper again and again until you have a small piece of paper left.
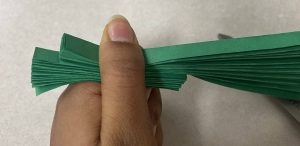
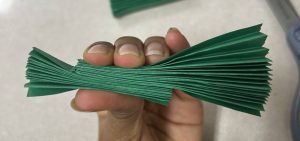
13. At this point you should be done with cutting all the pieces required to make the tree. To make life easier, rearrange the paper from the shortest to the tallest. After that, put glue on one side of the paper and glue them to the card that you made the first time. You need to glue them horizontally.
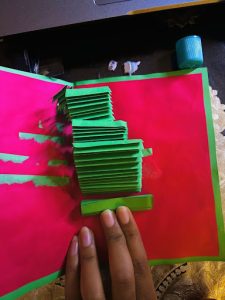
14. Press on the paper so that the glue would work better. Put glue on the other side of the tree paper and close the card slowly. Wait until the glue dries and open the card to look at what you created.
15. And finally decorate the Christmas gift however you want.
Tips:
- Whenever you are folding the paper, make sure that you are pressing on them hard
- Use a glue stick if you want to get over with the DIY faster
- If you have long fingers, use your pinky finger, but if you have an average or small fingers, use your second longest finger to measure the paper where you will cut
